| New Block For Marketing Quizzes, Vector Editor Updates, Tilda Docs, And More | |
|  | | Block Library Update: Quiz Form (QZ101) | Use the new QZ101 block and its variations from the "Form" category to create effective marketing quizzes. It allows you to flexibly adjust the appearance and styles of the form, add an introduction message from the virtual consultant, and much more. In the Block Library, you can choose from seven block variations (QZ101A - QZ101F) to meet your specific needs. Watch demo → | | | | | |
|  | | Customize Quiz Appearance | | |
| | In the block settings, you can choose to display questions and answers in one or two columns. Modify the quiz style by changing the corner radius, stroke, shadow, and padding. You can also enable the progress bar and set its color. | |
| | In the Content tab, you'll find the new Cover field type. Use this to customize the first step of the form or to create quiz sections.
Where to find: block Content → Quiz Form Steps → Cover | |
|  | | Display the Quiz Full-Screen Or In a Pop-up | | |
| | You can choose to display the quiz in full-screen mode or set a fixed height for the block. With a fixed height, the block size won't change regardless of the amount of content in the form.
Where to find: block Settings → Main Settings → Stretch block to full screen | |
|  | | Boost Interactivity With a Consultant | | |
| | The new block features a "Consultant" setting where you can add a welcome message from one of your employees and upload their photo. Use this to grab attention, motivate visitors to take the quiz, and explain the benefits.
Where to find: block Settings → Other → Consultant Message | |
|  | | Show Quiz Result Based On Responses | | |
| The new block provides two options for ending the quiz: "Result: content (image + text)" and "Result (redirect)." The first option is best for providing users with information on the next steps. The second option is perfect for immediately redirecting them to a specific page. Use the visibility conditions setting to customize the final step display. | |
| | Upgraded Drawing Functionality | |
| | We've optimized the vector editor for a smoother user experience and greater stability. It's now easier to bend vector lines and adjust the curve radius. To round the corners of basic and custom shapes, click on the drawing point and drag it to change the radius. | |
|  | | Freehand Tool | | Draw any shape freehand, and it will automatically convert to vector lines. Extend your shape from any endpoint and customize it to your liking. | | |
| 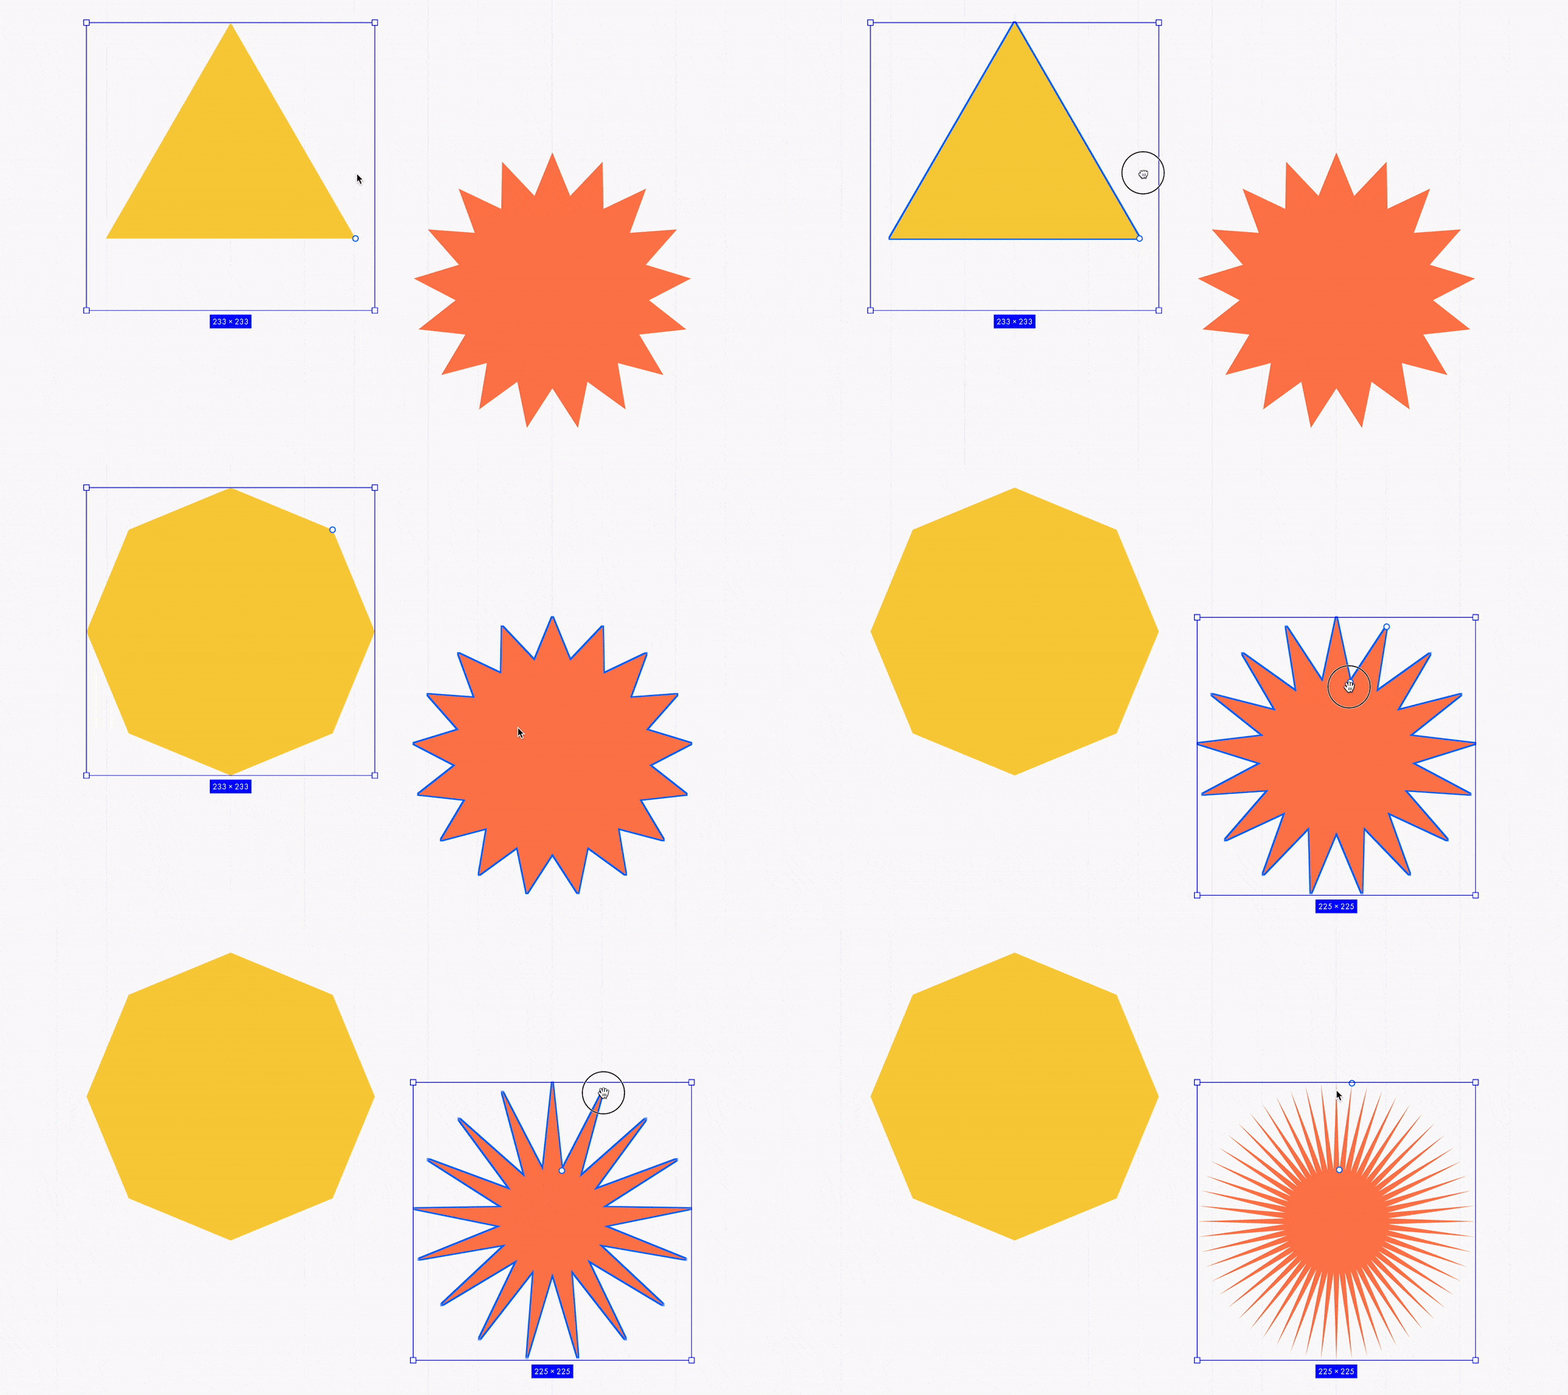 | | Polygon And Star Shapes | | Draw polygons and stars with a specified number of vertices. Adjust the shape using the controls or by entering values in the Count and Ratio fields. | | |
| 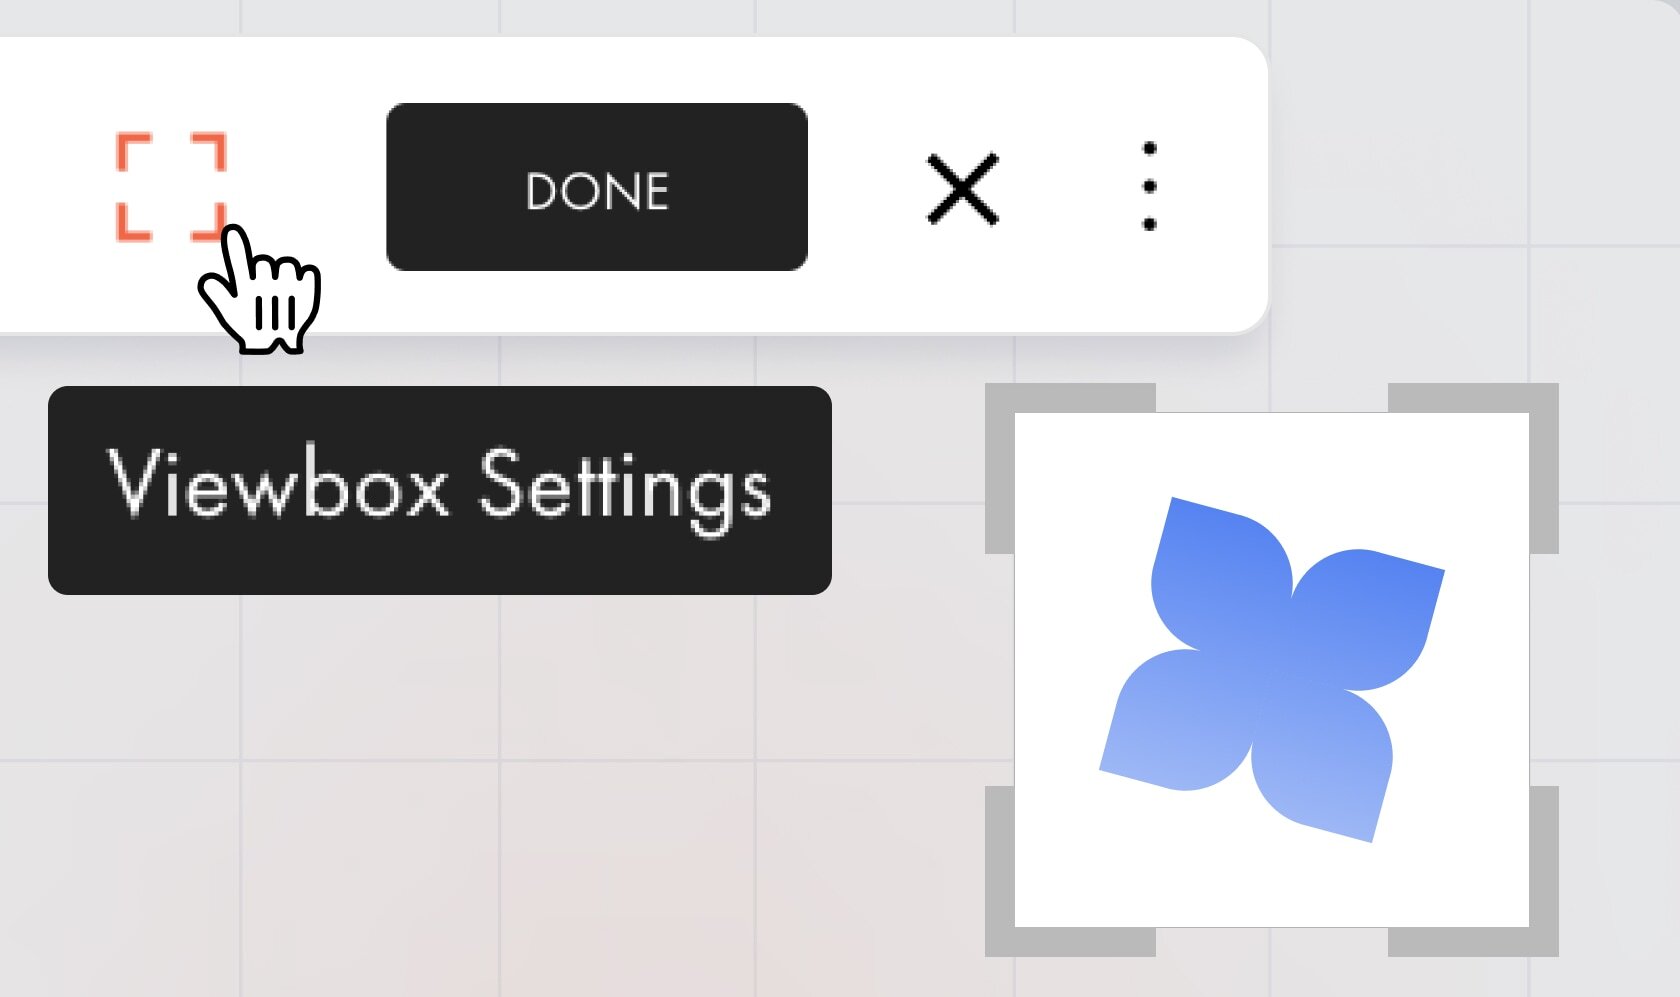 | | Modifying the Vector Display Area | | The Viewbox settings allow you to adjust the vector display area by cropping or expanding it to add extra white space. For example, if you assign a link to an icon and extend the viewbox beyond the element's edges, it increases the clickable area, making it easier for users to click. | | |
| 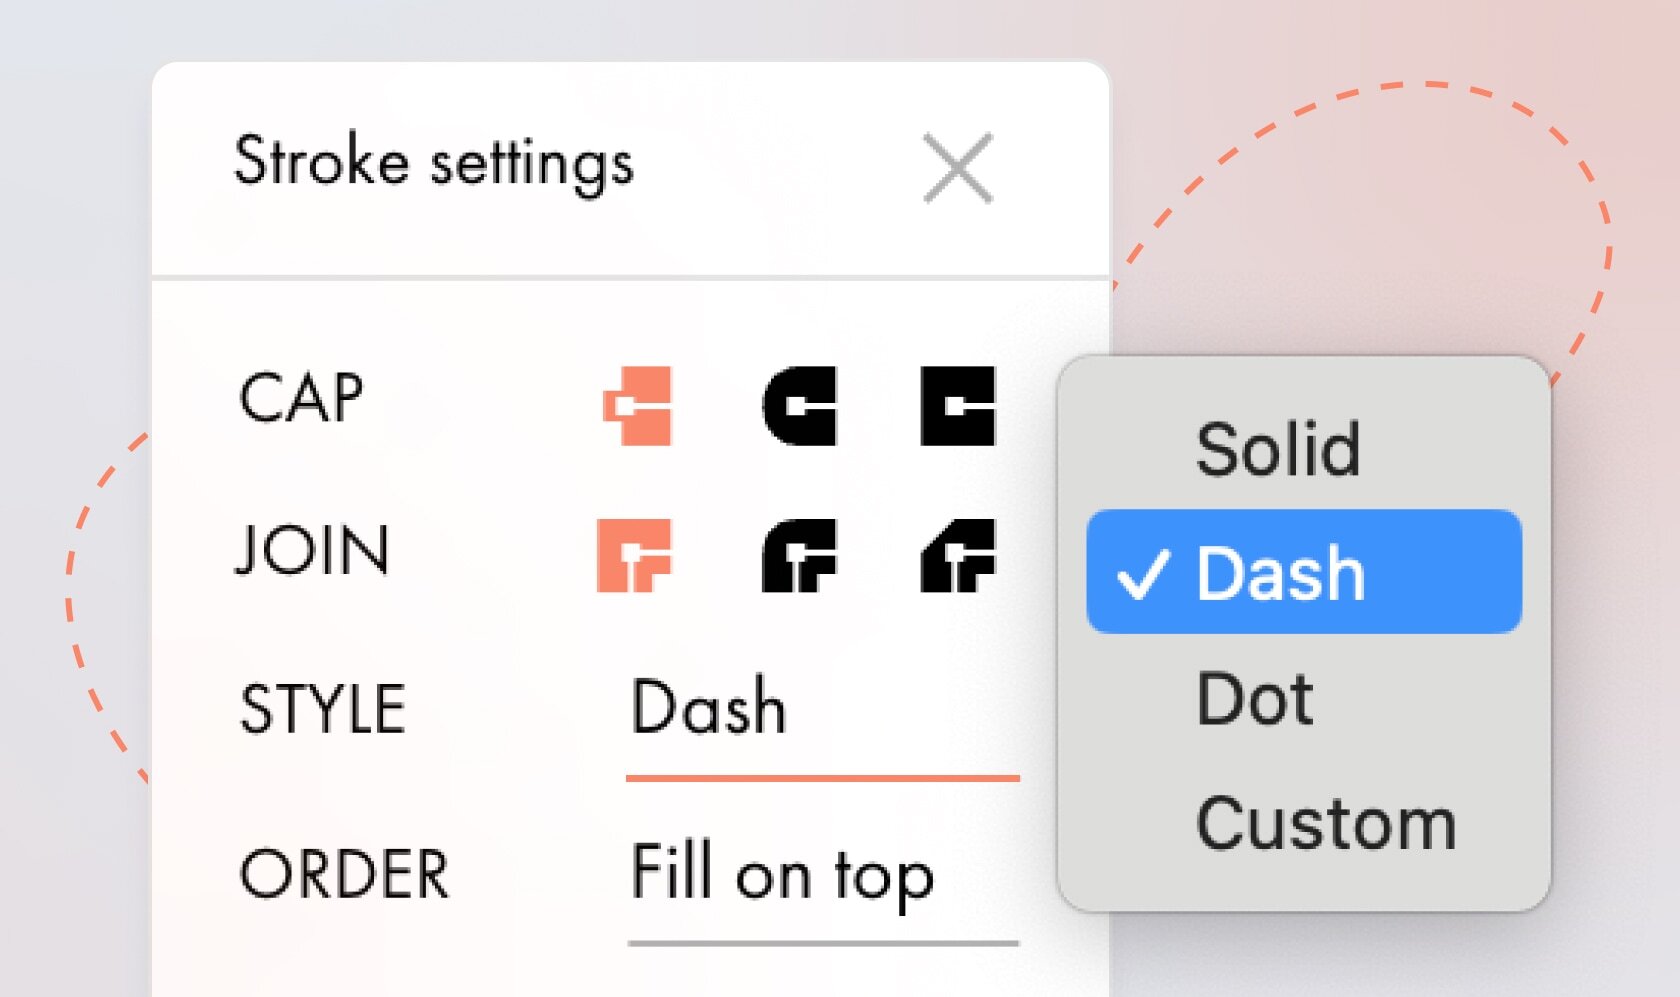 | | New Stroke Setting Options | | Choose from the available stroke styles or create a custom one. You can set the order of fill and stroke, select the vector point connection type (Join), and adjust the shape of the line's endpoints (Cap). | | |
| 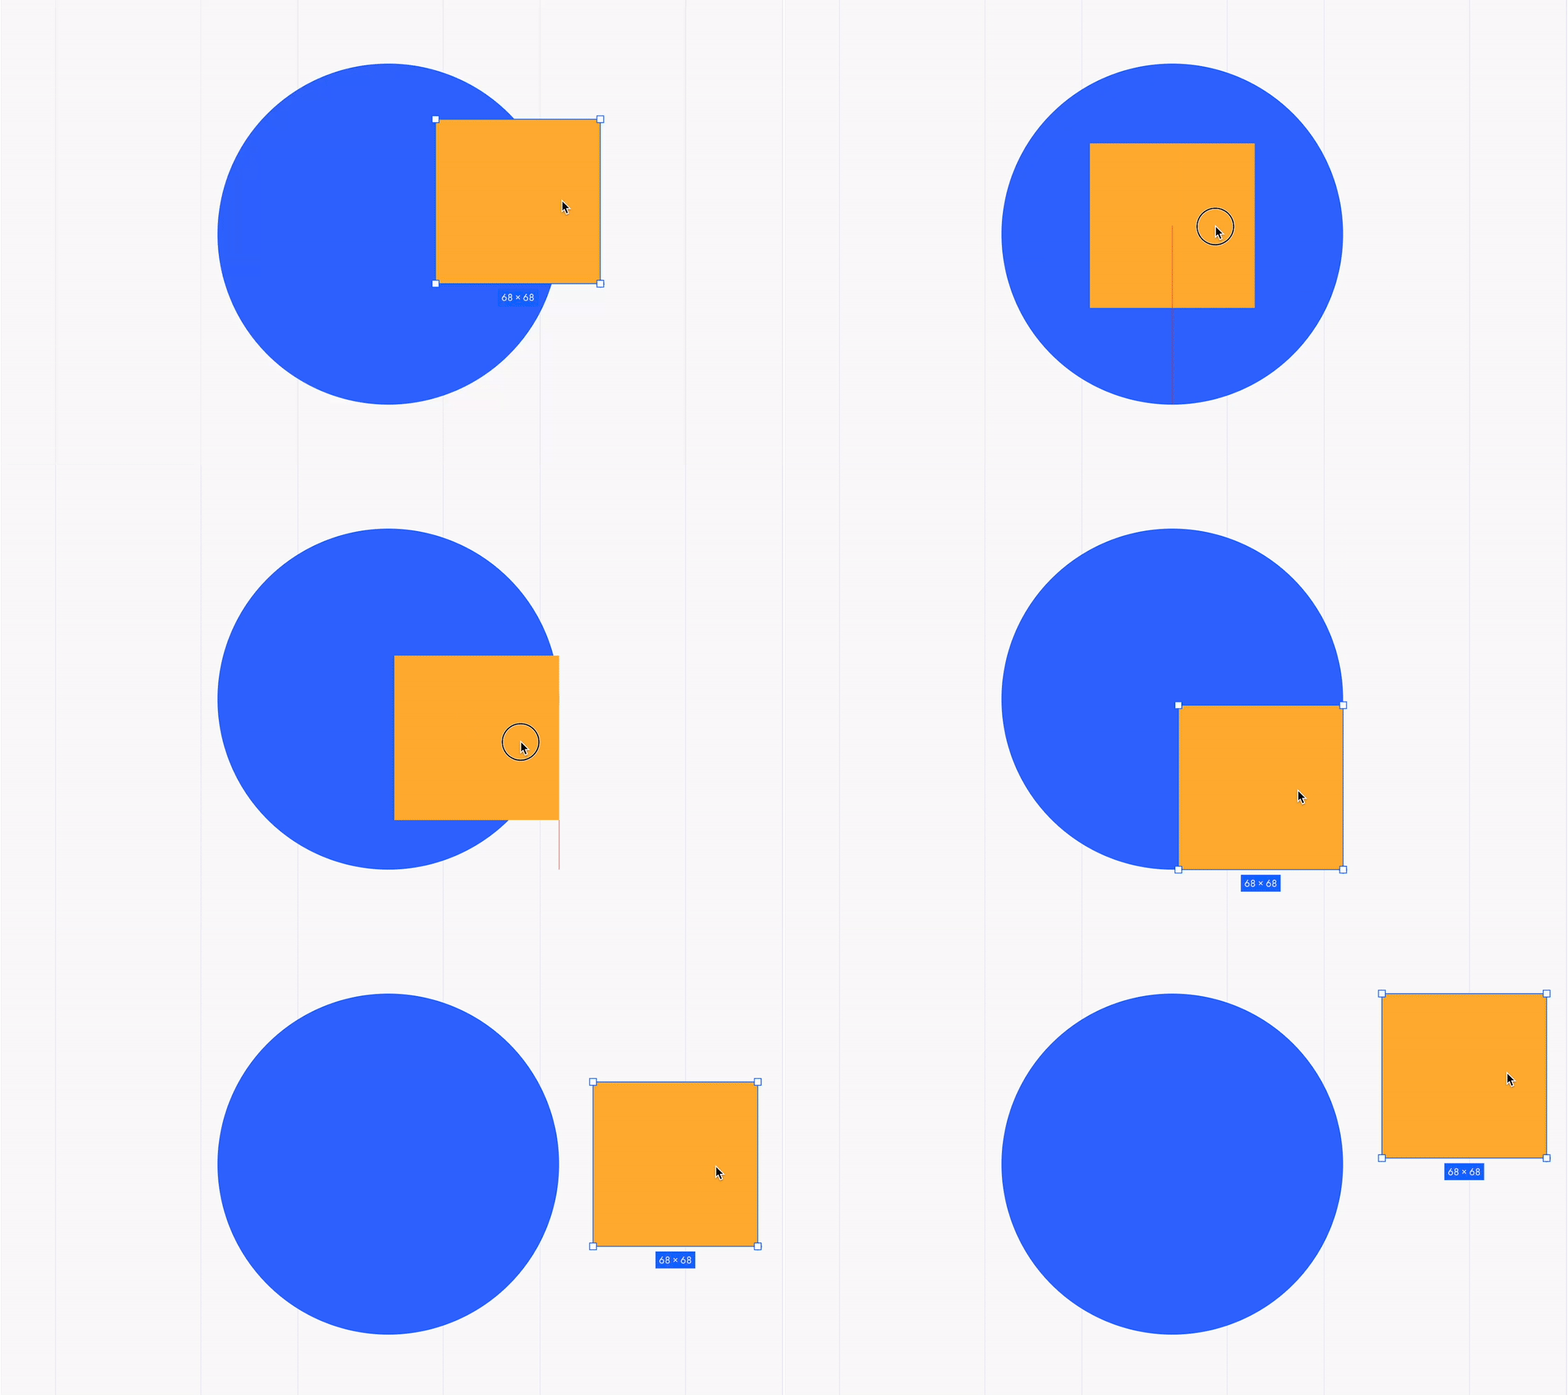 | | Element Snapping | | When moving elements or drawing new ones, red guides will appear to help you align them with the center, edges, or anchor points of existing shapes. | | |
| 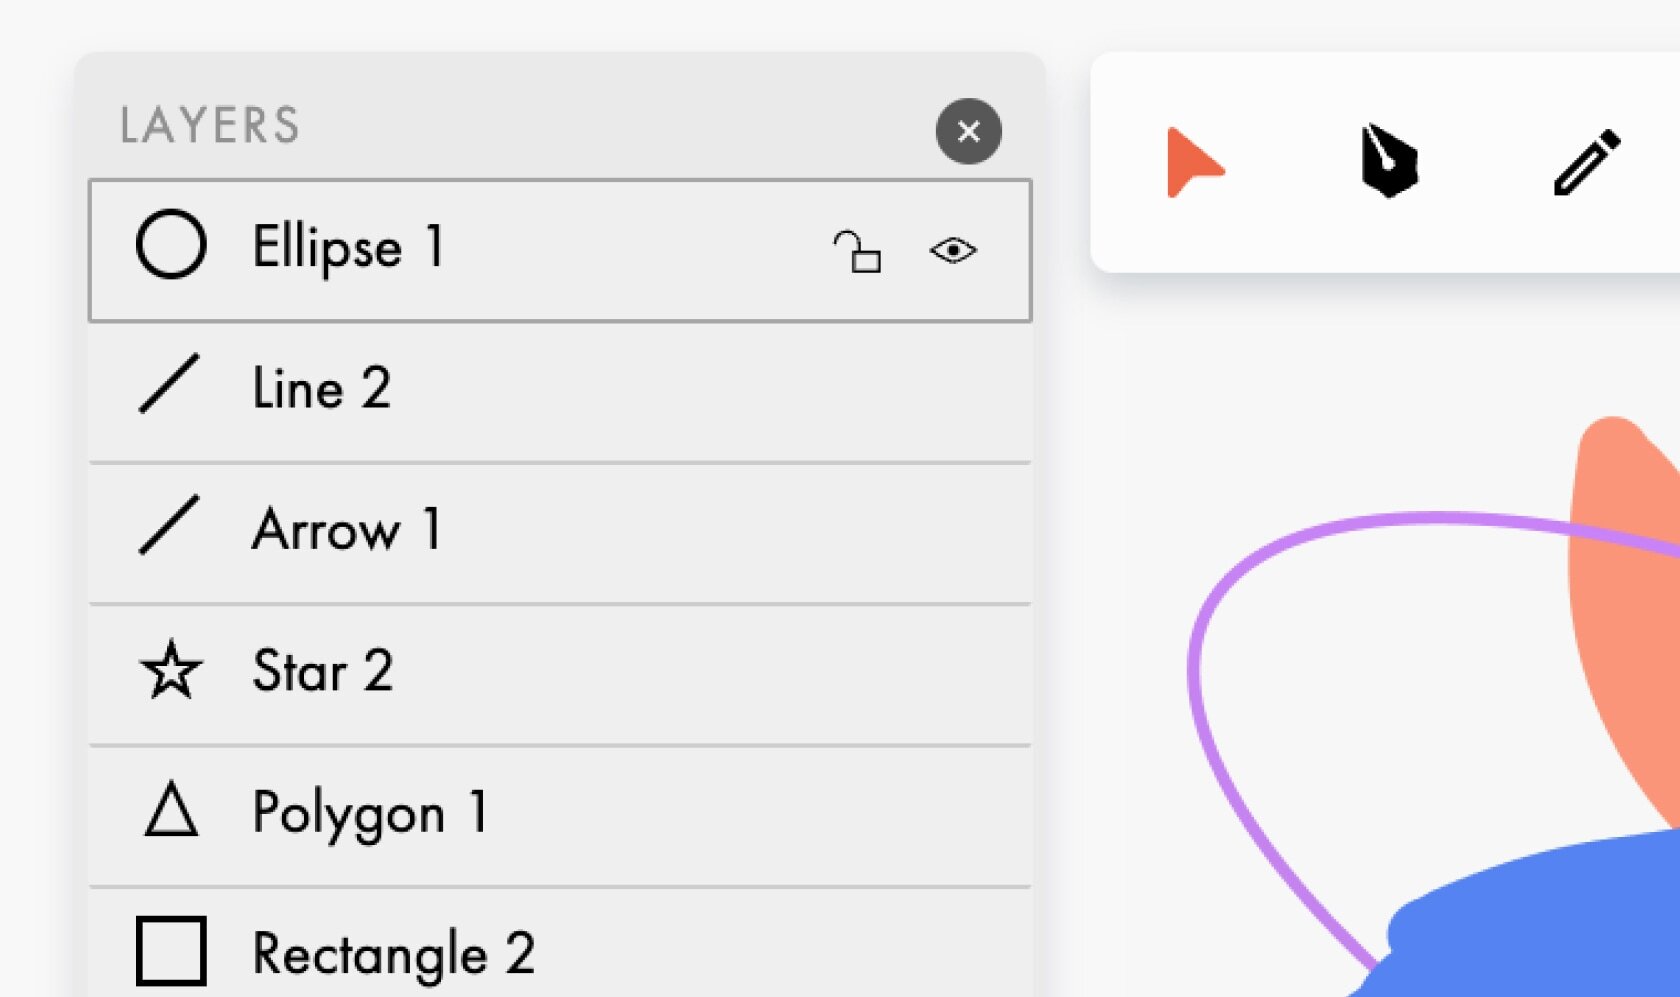 | | Layers Panel | | Use the panel to reorder, lock, hide, or rename shapes. To open the Layers panel, click the icon in the lower-left corner or the three dots in the toolbar → Layers. | | |
| 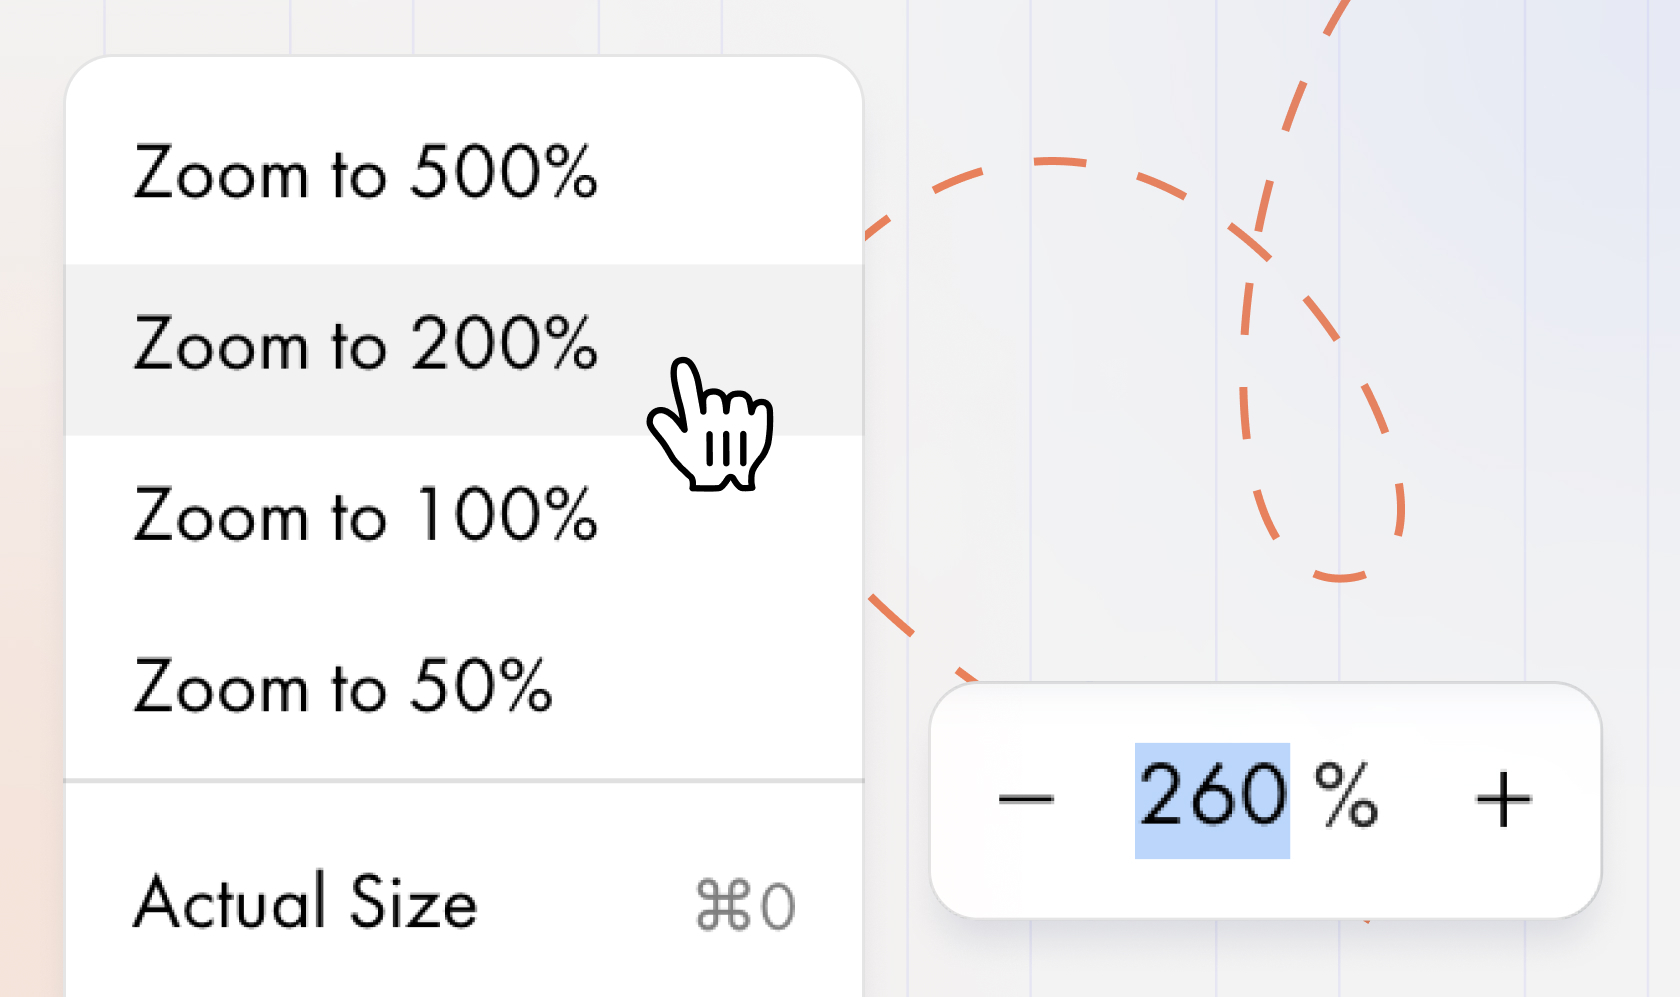 | | Zoom Control | | You can now adjust the zoom level of the artboard by either manually entering a value or selecting a preset option from the drop-down menu. | | |
| 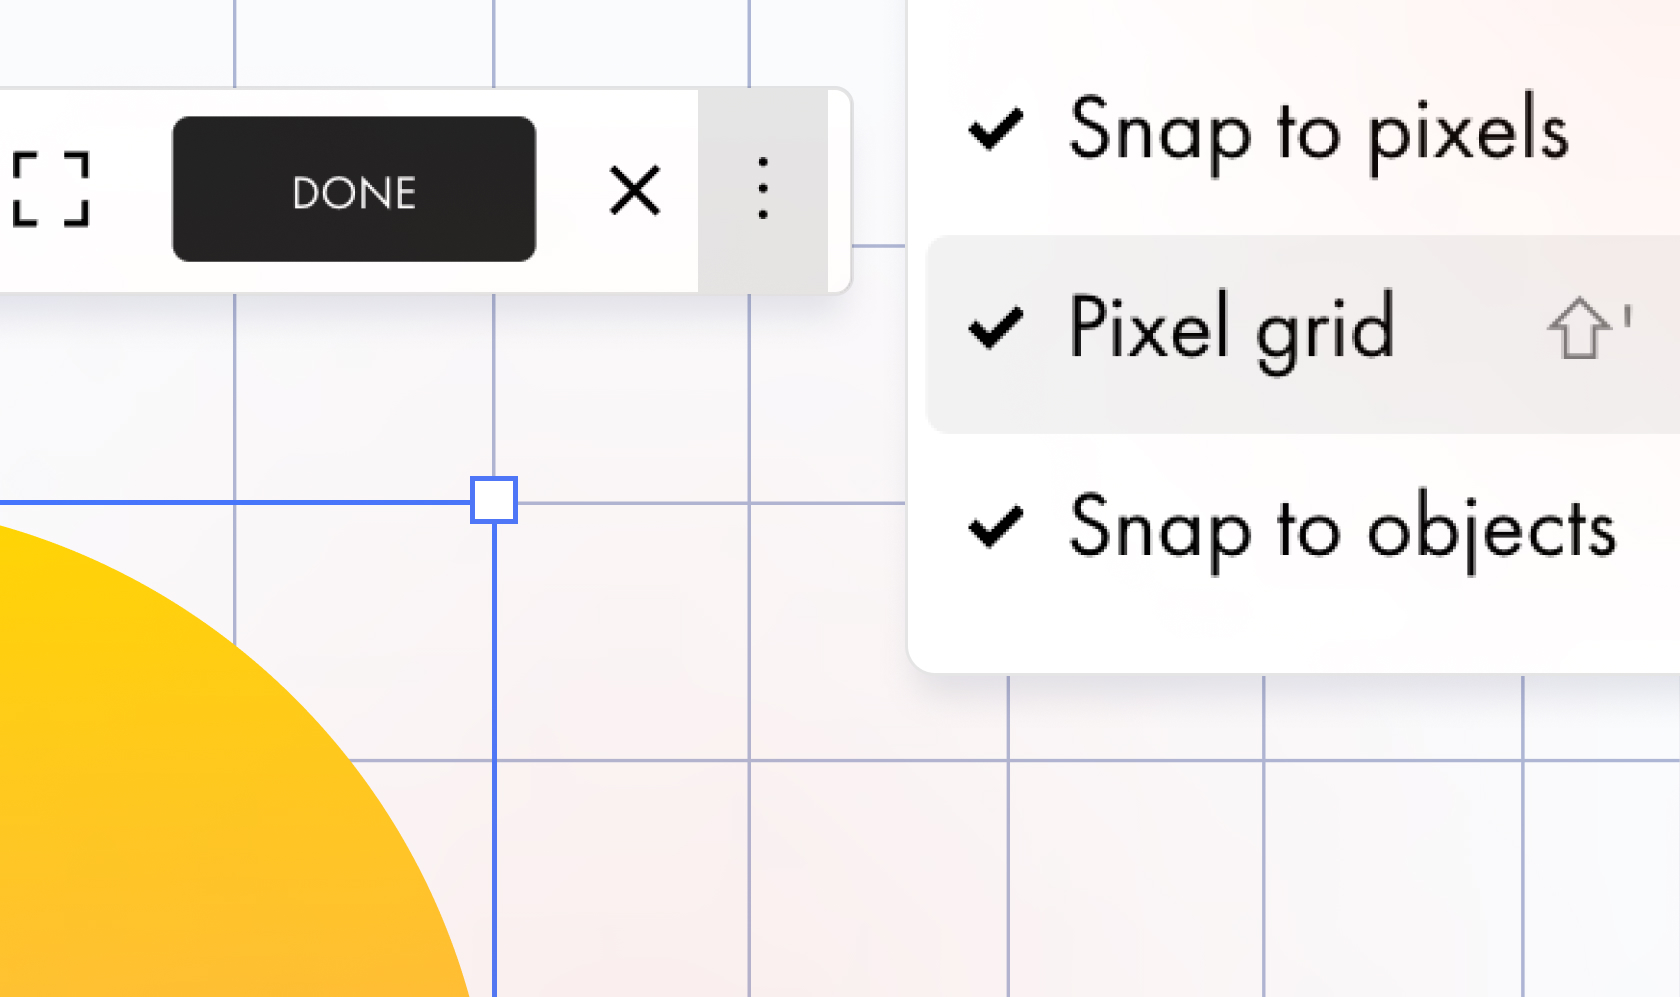 | | Pixel Grid | | If you zoom in the artboard to 600% or more, the pixel grid will automatically appear. To disable it, uncheck the Pixel Grid option in the toolbar or use the keyboard shortcut Shift + '. | | |
| 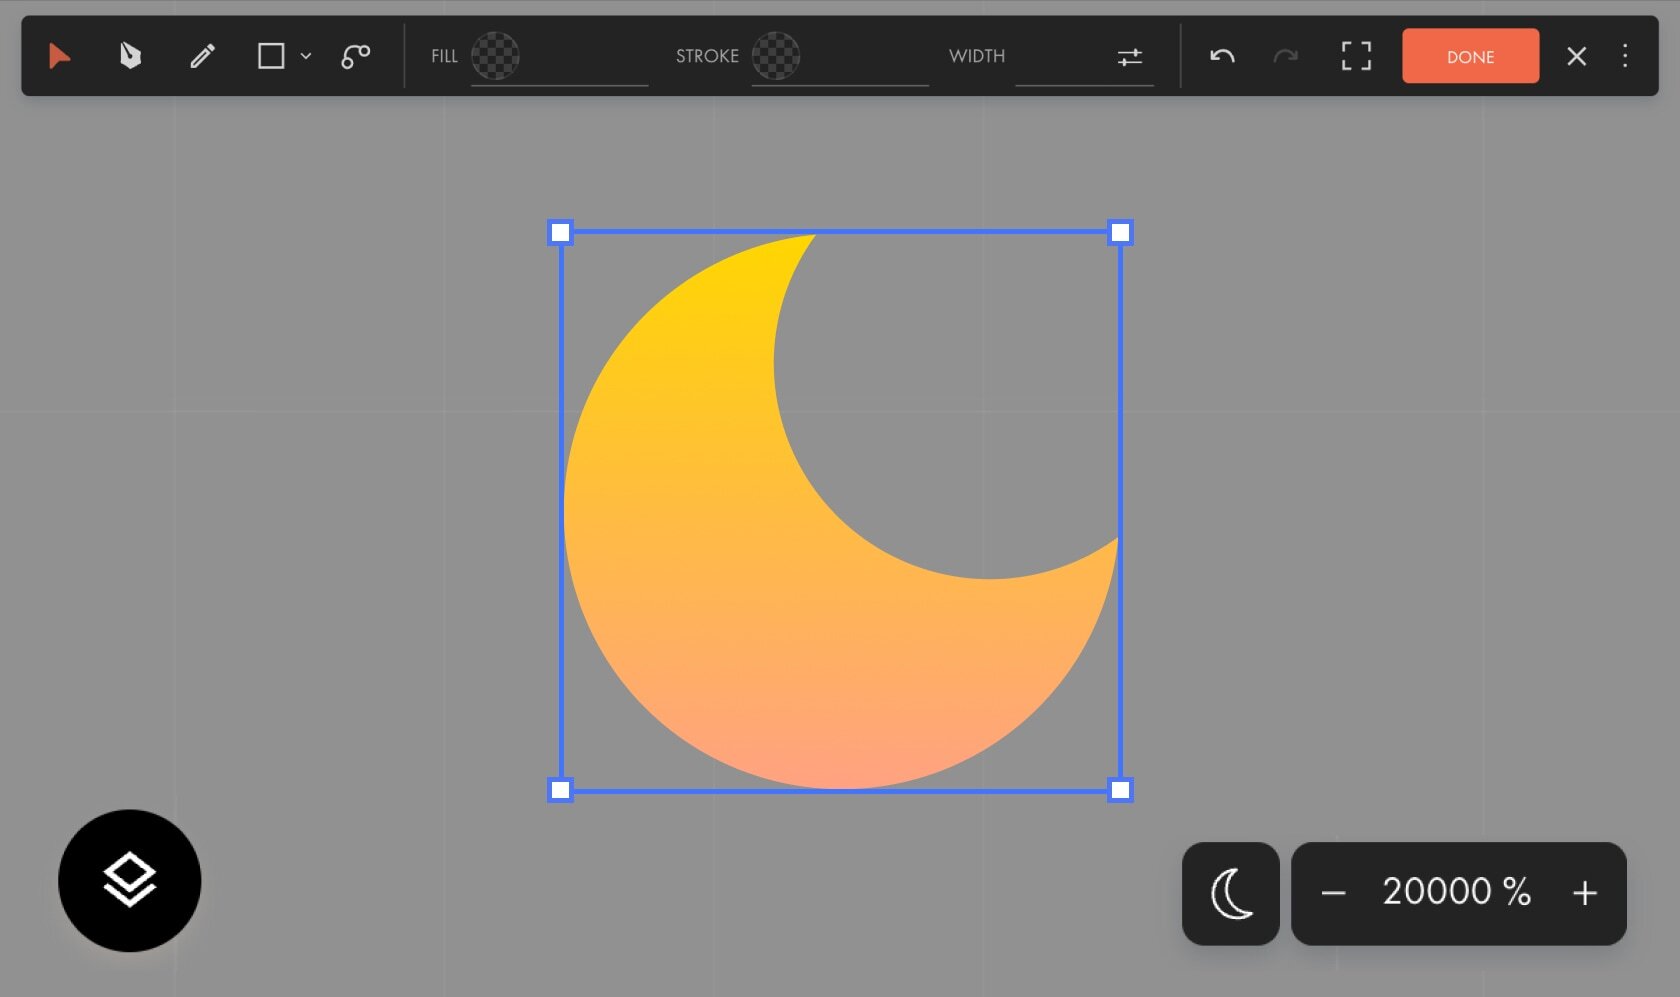 | Changing Interface Themes | | You can now switch between light and dark modes for the Editor's interface. To change the mode, click the three dots in the toolbar → Dark mode. | | |
| | Where To Find the Vector Editor | Use the vector editor to create and edit vector elements in pre-designed blocks, in Zero Block, or as a separate online service that doesn't require you to log in to your Tilda account. Try the Online vector editor → | | |
|  | | Tilda Docs. Build a knowledge base for your team, project, or personal use | | Use Tilda Docs to create, store, and manage documents like guides, policies, project notes, etc. Create documents using the intuitive block-based editor and organize them into folders for better structure. You can also flexibly manage document access; for example, grant your employees view-only access so they can view the materials but not edit them. | | | | | |
| | For long text in pre-designed blocks, you can collapse part of it to be revealed with a click. This can be especially useful for lengthy testimonials or detailed service descriptions. To collapse text, select it, then click the three dots in the top toolbar → Collapse text. | |
|  | | Upgraded Project Pages Display For Index Category Blocks | | Project pages listed in the Content tab of blocks from the Index category can now be organized into folders. Search for pages using the search bar. Also, select all pages within a folder or a specific range of pages by holding the Shift key. | | |
|  | | Multiple Choice For Product's Additional Options | When placing an order in your online store, customers can now select multiple additional options for the same product. Read more about additional options in the Help Center. | | |
|  | | Free Webinar Agenda: October 2024 | | Learn to build beautiful, user-friendly websites with guidance from Tilda experts. Our expert-led workshops are perfect for anyone looking to build professional-quality websites. Check out our upcoming live streams and secure your spot today! | | | | | |
|  | | Tilda Grant For Nonprofits | | Every month we give away 5 annual subscriptions to nonprofit and social change organizations active in science & tech, volunteerism, healthcare, culture & arts, social welfare, etc. | | | |
| You are subscribed to the Tilda Newsletter because you agreed to receive our monthly news digest when you signed up for https://tilda.ccIf you no longer wish to receive our newsletter, click UNSUBSCRIBE | |
| |